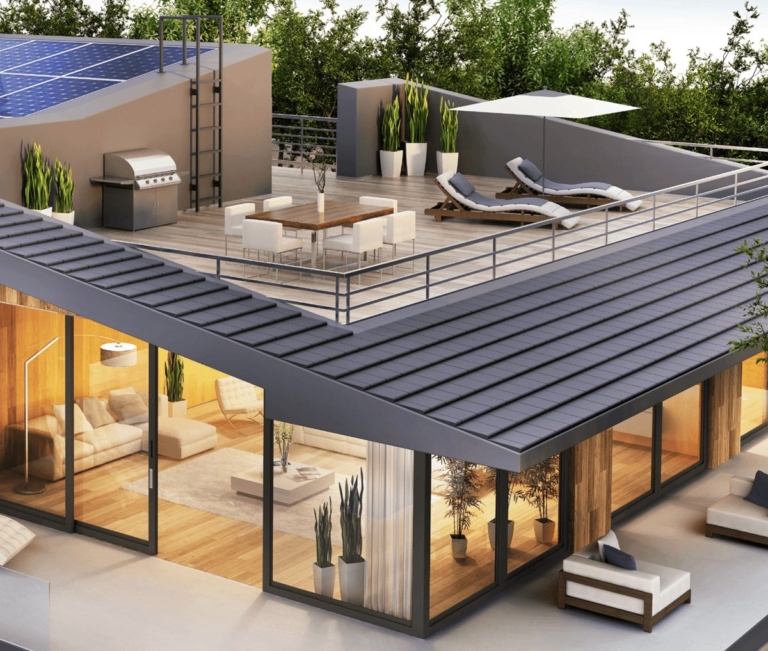
How to Install Underfloor Heating: A Step-by-Step Guide for Hydronic Systems

Learning how to install underfloor heating correctly is what separates a system that delivers consistent warmth for decades from one that underperforms or develops problems that are expensive to fix once the floor is closed up. This guide covers the full hydronic installation process using WBI’s above-floor panel systems: subfloor preparation, panel installation, PEX routing, manifold connection, pressure testing, and commissioning.

Step Task Responsible Party Key Requirement
1 Subfloor Preparation GC / Homeowner Flat within 3/16" over 10 ft; perimeter foam installed
2 Panel Installation GC / Homeowner Adhesive + cross-staples at all 8 attachment points
3 PEX Tubing Routing GC / Homeowner Max 250-300 ft per loop; all circuits labelled
4 Manifold Connection Licensed Mechanical Contractor Mixing valve, circulator pump, rated fittings
5 Pressure Testing Licensed Mechanical Contractor 60 PSI, min 30 minutes, result documented
6 Finished Flooring GC / Flooring Contractor Max 80°F surface; acclimate wood 7-14 days
7 System Commissioning Licensed Mechanical Contractor Purge air, balance flow rates, warm up at max 5°F/day

Before You Start: What You Need in Place

A hydronic underfloor heating installation has two components: the floor assembly, which most builders and contractors can handle, and the mechanical system, which requires a licensed plumbing or mechanical contractor. Before any floor work begins, the mechanical design must be complete.

Pre-Installation Checklist

  • Room-by-room heat loss calculation completed by a qualified designer
  • Heat source confirmed: boiler or air-to-water heat pump specified and sized
  • Manifold location determined and wall mounting point confirmed
  • Zone count and loop plan finalised
  • WBI CAD panel layout received: room-by-room floor plans showing loop routing and connection points
  • All materials on site before installation begins

Tools and Materials Needed

  • WBI Ecowarm RadiantBoard or ThermalBoard panels (per WBI layout)
  • Half-inch PEX tubing (ASTM F876/F877 rated)
  • Low-VOC construction adhesive and screws or cross-staples
  • Manifold, circulator pump, and mixing valve (mechanical contractor supplies)
  • Pressure test pump and gauge
  • Tape measure, chalk line, circular saw or jigsaw
  • Perimeter expansion foam strip

Step 1: Prepare the Subfloor

The subfloor must be clean, dry, structurally sound, and flat before any panel goes down. Sweep and vacuum thoroughly. Check for protruding fasteners or warped boards and correct them.

  • Flatness tolerance: 3/16 inch over a 10-foot span. Correct anything beyond this with self-leveling compound (concrete) or sistered framing (wood subfloors).
  • Install perimeter expansion foam strip at the base of every wall before the first panel goes down.
  • Confirm subfloor is dry. A moisture meter reading above 12 percent on wood subfloors requires remediation before panels are installed.

Step 2: Install the Radiant Panels

Lay WBI panels following the CAD layout exactly, starting from the manifold connection wall and working outward.

  • Fasten each panel with low-VOC construction adhesive on the underside plus screws or cross-staples at the eight fastening points in the installation manual.
  • Cross-stapling: two staples at opposing 45-degree angles at each point. Combined with adhesive, this creates a squeak-resistant bond through years of thermal cycling.
  • Cut panels on a workbench, not over the subfloor. Dry-fit around obstacles before fastening.
  • Mark each panel’s loop assignment on the face before tubing is installed. This simplifies labelling at the manifold later.

Step 3: Install the PEX Tubing

With all panels fastened, run PEX tubing following the loop routing in the WBI layout. Each loop starts and ends at the manifold.

  • Walk tubing into panel grooves by stepping firmly. RadiantBoard’s overbite groove locks tubing without clips. ThermalBoard’s 8-inch grooves hold tubing securely once pressed in.
  • Minimum bend radius for half-inch PEX is approximately three inches. Use combo panels at turns that cannot achieve this radius naturally. Never kink.
  • Label each loop at the manifold end before connecting, for example “L1-Master Bath Supply”. This prevents connection errors when multiple loops look identical.
  • Maximum loop length: 250 to 300 feet for half-inch PEX including home run.

Step 4: Connect to the Manifold

Manifold connection and heat source hookup must be completed by a licensed plumbing or mechanical contractor.

  • Connect PEX loop ends using compression or crimp fittings rated for the system’s operating pressure and temperature.
  • WBI RadiantBoard: supply water 85-105°F. ThermalBoard: effective at the lower end of this range, maximising heat pump efficiency.

Step 5: Pressure Test Before Covering

Pressure testing is the most critical verification step. Every loop must be tested before finished flooring goes down.

Pre-Cover Checklist: Confirm All Items Before Flooring Goes Down

All panels fastened with construction adhesive and cross-staples at all 8 points
All PEX loops routed per WBI layout and labelled at the manifold
System pressurised to 60 PSI
Pressure held for minimum 30 minutes with no drop detected
All manifold connections and fittings confirmed leak-free
Pressure test result documented: start PSI, elapsed time, final PSI
WBI layout drawing filed for future service reference

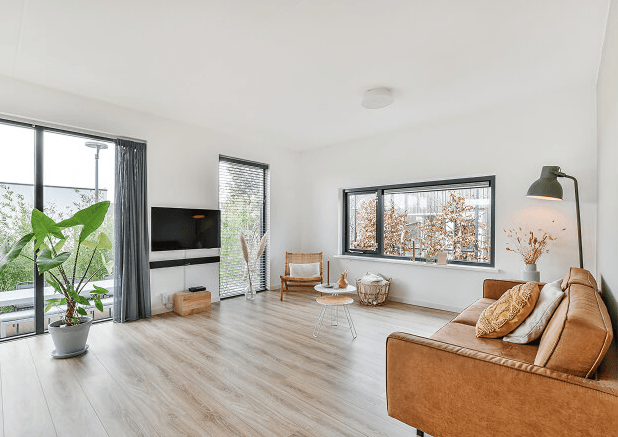
Step 6: Install Finished Flooring

  • Tile: install cementitious backer board with a plastic slip sheet between panel and backer. Use flexible polymer-modified thinset rated for radiant heat.
  • Floating floors (engineered hardwood, laminate, LVP): verify max surface temperature per manufacturer, typically 80-82°F. Do not exceed.
  • For all wood flooring: the heating system must have been running for at least two weeks before wood delivery, and wood must acclimate on-site for 7-14 days before installation.

Step 7: Commission and Balance the System

  • Purge each loop individually to remove air: isolate all others, open fill and drain valves, flush until water flows without bubbles.
  • Balance manifold flow meters to match the design flow rate in GPM for each loop.
  • Start system at 85°F supply water. Increase by no more than 5°F per day for 48-72 hours before reaching full operating temperature.
Installation Error Severity Consequence
Skipping pressure test before covering the floor Critical Leaks found only after flooring is installed; floor must be torn up
No underslab or underpanel insulation Critical 30-55% of heat lost to ground; system cannot reach design temperatures
PEX loops longer than 300 feet High Uneven heat distribution; cold spots at far ends
Loops unlabelled at the manifold High Cannot balance or service zones without identifying circuits
Subfloor not flat before panel installation Moderate Panel voids and pressure points; aluminium laminate damaged over time
Rapid system warm-up after commissioning Moderate Wood floor stress; gaps, cupping, or finish damage on first heat-up
Missing perimeter expansion foam strip Low Panels buckle at walls during thermal expansion cycles

Frequently Asked Questions

What is the best type of underfloor heating for a new build?+
For new builds, wet (hydronic) underfloor heating is generally the most cost-effective long-term choice. It integrates with your boiler or heat pump and delivers very low running costs. Electric systems are better suited for smaller areas or retrofits where installing pipework is impractical.
How long does underfloor heating installation take?+
A standard single-room installation takes one to two days. Whole-house installations typically take three to five days depending on floor area, system type, and subfloor preparation. Screed systems need an additional four to six weeks curing time before the system can be commissioned.
Can underfloor heating be installed under existing flooring?+
Yes, in many cases. Low-profile electric mats can be laid under tiles or hard floors with minimal height gain. Wet systems are more disruptive but can be retrofitted using slim overlay boards. Always verify that the existing subfloor is level, dry, and structurally sound before proceeding.
How much does underfloor heating installation cost?+
Costs vary widely. Electric systems for a single bathroom typically start around £300 to £600 including materials. Wet systems for a whole house can range from £3,000 to £10,000 or more depending on floor area and complexity. Running costs depend on your heat source and insulation quality.
Is underfloor heating more energy efficient than radiators?+
Yes. Underfloor heating operates at lower flow temperatures (typically 35 to 45°C versus 65 to 75°C for radiators), making it significantly more efficient when paired with a heat pump or condensing boiler. The larger surface area also distributes heat more evenly, reducing energy waste.

Key Takeaways

  • Complete the mechanical design and obtain the WBI CAD layout before any installation work begins.
  • Prepare the subfloor thoroughly: clean, flat within 3/16″, structurally sound, with perimeter foam installed before the first panel.
  • Fasten WBI panels with construction adhesive plus cross-staples at all eight attachment points.
  • Walk PEX into groove channels following the WBI layout. Label all loops. Keep each loop within 250-300 feet including home run.
  • Pressure test every loop to 60 PSI for at least 30 minutes before laying finished flooring. Document the result.
  • Commission by purging air, balancing manifold flow rates, and warming up gradually at no more than 5°F per day.