USA
USA Canada
Luxury Radiant Heating for Beautiful Heated Marble Floors
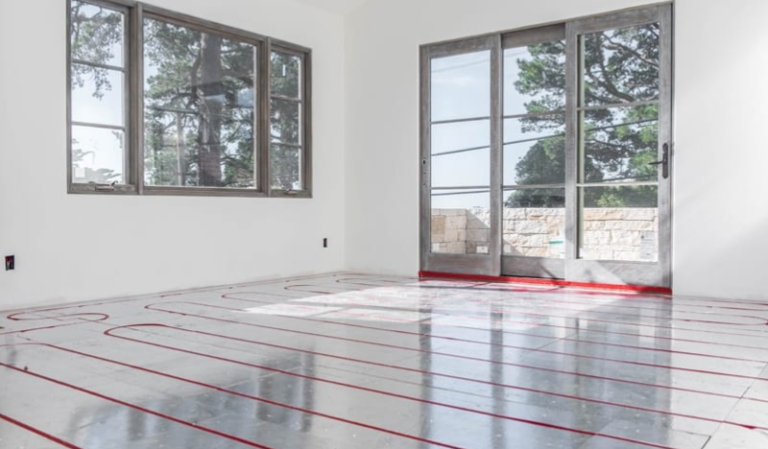
Marble floors have long symbolized luxury, durability, and timeless design. But anyone who has walked barefoot on marble in winter knows that beauty can come with a chill. Fortunately, radiant floor heating has made it possible to enjoy marble’s elegance without sacrificing comfort.
Today’s systems allow builders, remodelers, and homeowners to install heated marble floors that are energy efficient, quiet, and long-lasting. Whether in a primary bathroom, grand foyer, or kitchen, radiant heating under marble elevates both comfort and property value.
Why Marble and Radiant Heat Work So Well Together
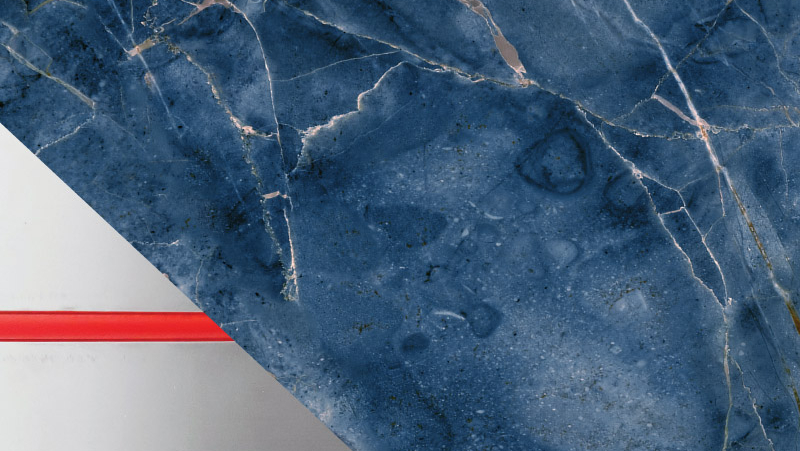
Marble is a dense, highly conductive natural stone, which makes it one of the best flooring materials for radiant heating. Unlike carpet or thick wood, marble efficiently transfers heat from below, spreading warmth evenly across the entire floor surface.
That means no cold spots, no drafts, and no noisy air movement. Instead, the heat rises gently and evenly from the floor up, creating a comfortable environment without overheating the room.
Key reasons marble pairs perfectly with radiant heat:
- Excellent thermal conductivity – Marble’s natural density helps distribute radiant energy quickly and evenly.
- Luxurious feel – The warmth accentuates the comfort of a material that’s usually cold to the touch.
- Silent, invisible system – No vents, ducts, or radiators interrupt the aesthetics.
- Efficient operation – Radiant systems can maintain comfort at lower air temperatures, reducing energy usage compared to forced air.
For luxury homes and upscale remodels, it’s one of the few systems that combines comfort, efficiency, and design elegance in one package.
Hydronic vs. Electric Heated Marble Floors
Both electric and hydronic radiant systems can be used beneath marble floors. Each has its place, depending on project size and scope.
Electric Systems
- Typically use heating cables or mats embedded in thin-set mortar.
- Best suited for small areas such as bathrooms or entryways.
- Simple installation, but higher long-term energy cost since electricity is used directly for heating.
Hydronic Systems
- Use warm water circulating through PEX tubing to heat the floor.
- Connected to a boiler, water heater, or heat pump.
- More complex to install initially but significantly more efficient for large areas or whole-home systems.
For full-floor installations, hydronic radiant systems are the standard choice among contractors and designers, especially when installed with modern panel systems that make tubing layout fast and predictable.
The Role of Radiant Panels Under Marble Floors
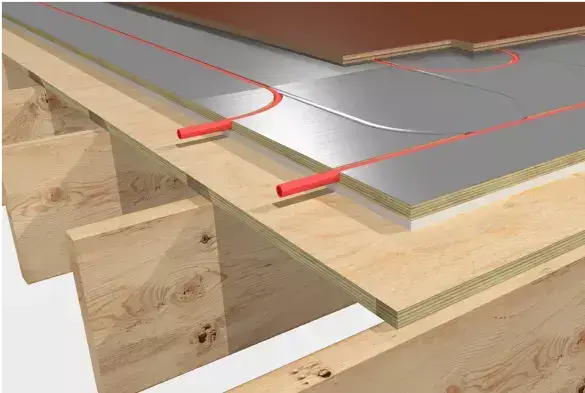
While traditional radiant systems embed tubing in concrete or gypcrete, panel-based hydronic systems have become increasingly popular for marble installations. These pre-engineered panels contain grooves for PEX tubing and often feature aluminum surfaces that conduct heat evenly across the marble above.
Installing radiant panels under marble provides several benefits:
- Faster response time – The aluminum layer transfers heat directly to the marble, reducing warm-up time compared to in-slab systems.
- Precision installation – Tubing channels are pre-routed, ensuring consistent spacing and balanced loops.
- Lightweight and clean – No concrete or heavy pours, ideal for remodels or upper levels.
- Uniform surface temperature – Prevents hot or cool zones that can occur in embedded systems.
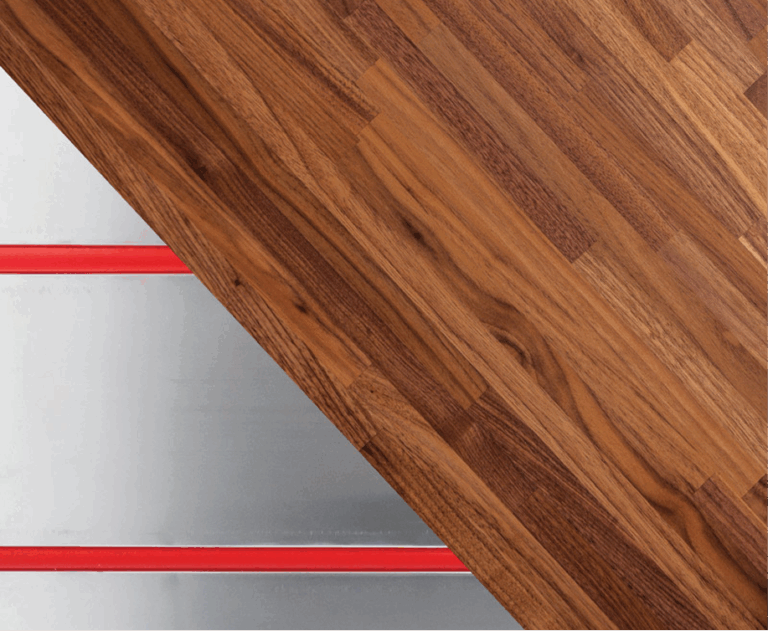
- Compatibility with multiple floor types – Works under tile, stone, engineered wood, or luxury vinyl.
For contractors, these panels simplify workflow. They can be installed by carpenters before the tile crew arrives, while the hydronic connections are handled by the plumber or mechanical contractor.
The Importance of EPS Insulation Beneath Marble
Marble may conduct heat well upward, but without insulation below, a significant portion of that energy can be lost to the subfloor. That’s where EPS (expanded polystyrene) comes in.
EPS-insulated radiant panels provide a built-in thermal break that keeps heat moving toward the floor surface, not into the structure. The result is a faster, more efficient system with less energy waste.
Benefits of EPS-backed radiant panels for marble floors:
- Minimized downward heat loss
- Reduced system run time
- Improved energy efficiency
- Better comfort uniformity
In rooms like master baths or foyers, where marble is common, these benefits are noticeable within minutes of operation.
Installation Timeline for Heated Marble Floors
Knowing how radiant heating fits into the project schedule is essential for coordination among trades. A typical installation follows this timeline:
1. Mechanical Rough-In
Before drywall, the supply and return lines and manifolds are installed by the plumber or mechanical contractor. These components distribute warm water to each radiant zone.
2. Panel and Tubing Installation
After drywall and rough finishes, the radiant panels are fastened to the subfloor. PEX tubing is pressed into pre-routed grooves according to the layout plan. This phase can be done by a carpenter, tile setter, or general contractor using standard tools.
3. Marble Installation
Once tubing is pressure-tested and approved, the tile crew can install the marble flooring directly over the radiant surface. Thin-set or mortar is applied per manufacturer recommendations to ensure full contact for optimal heat transfer.
4. System Commissioning
The plumber or HVAC contractor connects the tubing to the manifolds, fills the system, and tests for leaks. Once finished flooring is complete, the system is purged, balanced, and activated.
Design Considerations for Marble Radiant Installations
Marble requires a bit more planning than standard tile because it’s heavier and can show thermal stress if installed improperly. A few best practices help ensure a durable and efficient radiant system:
- Maintain uniform heat coverage – Panels and tubing should extend fully beneath all marble areas to avoid uneven heating.
- Use low-temperature water – Hydronic systems running around 100–120°F are ideal for marble; excessive heat can cause minor expansion cracks over time.
- Follow flooring manufacturer guidelines – Especially important for thin marble tile or large-format slabs.
- Use appropriate adhesives – Flexible thin-set mortars designed for radiant systems prevent bonding issues as floors expand and contract.
When installed correctly, heated marble floors can last for decades with virtually no maintenance.
Product Spotlight
WBI’s radiant panel systems are engineered to make marble installations simple, efficient, and high-performing. Their EPS-backed aluminum panels provide superior upward heat transfer and fast response times—perfect for stone, tile, or marble floors.
The panels install over concrete or wood subfloors, using standard carpentry tools, and come with detailed CAD layout drawings that guide installers through each circuit. Combined with a hydronic heat source, they deliver even surface temperatures and excellent energy efficiency without the lag of in-slab systems.
Contractors appreciate the flexibility and clean installation, while homeowners enjoy silent, luxurious comfort under every step.
Final Thoughts
Heated marble floors bring together the best of both worlds: timeless beauty and modern comfort. With today’s radiant technology, the days of cold stone floors are over.
Whether in a luxury bathroom, entryway, or kitchen, radiant panels with EPS insulation provide the most efficient and responsive method to heat marble. Carpenters can handle panel installation, plumbers manage hydronic connections, and tile professionals finish the surface, creating a seamless process that fits neatly into modern construction schedules.
For homeowners, the result is pure comfort and elegance. For contractors, it’s a high-end feature that adds long-term value and distinguishes their projects from the competition.